Scenes 场景
Creating scenes 创建场景
需要遵循 Scene 协议,实现计算属性 body 并提供场景内容即可创建一个自定义的场景:
struct MyScene: Scene {//遵循 Scene 协议
    var body: some Scene { //实现 body 属性
        WindowGroup {
            MyRootView() //提供场景内容
        }
    }
}
Monitoring scene life cycle 监控场景的生命周期
SwiftUI 提供了一个环境变量 scenePhase 访问当前场景的状态:
active: 应用程序处于前台并可接收用户输入。inactive: 应用程序处于正在转换状态,不是完全活跃也不是完全在后台。background: 应用程序完全处于后台。
可以通过 onChange 方法来监控场景的变化:
@main
struct MyApp: App {
    @Environment(\.scenePhase) private var scenePhase

    var body: some Scene {
        WindowGroup {
            MyRootView()
        }
        .onChange(of: scenePhase) { phase in
            if phase == .background {
                // Perform cleanup when all scenes within
                // MyApp go to the background.
            }
        }
    }
}
MyScene
如果在自定义场景中使用 scenePhase,其同样可返回自定义场景下的状态。
Managing a settings window 管理设置窗口 macOS
呈现用于查看和修改应用程序设置的界面的场景。
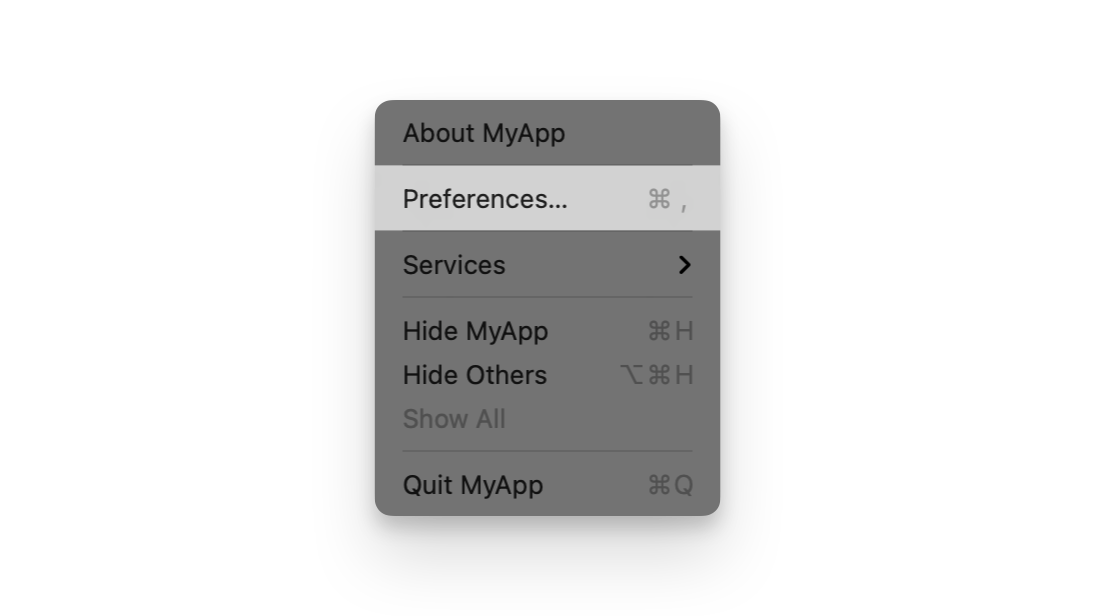
这个设置只应用于 macOS 平台,当提供了这个场景后,会自动启用应用程序的「设置」菜单:
@main
struct MyApp: App {
    var body: some Scene {
        WindowGroup {
            ContentView()
        }
        #if os(macOS)
        Settings {
            SettingsView()
        }
        #endif
    }
}
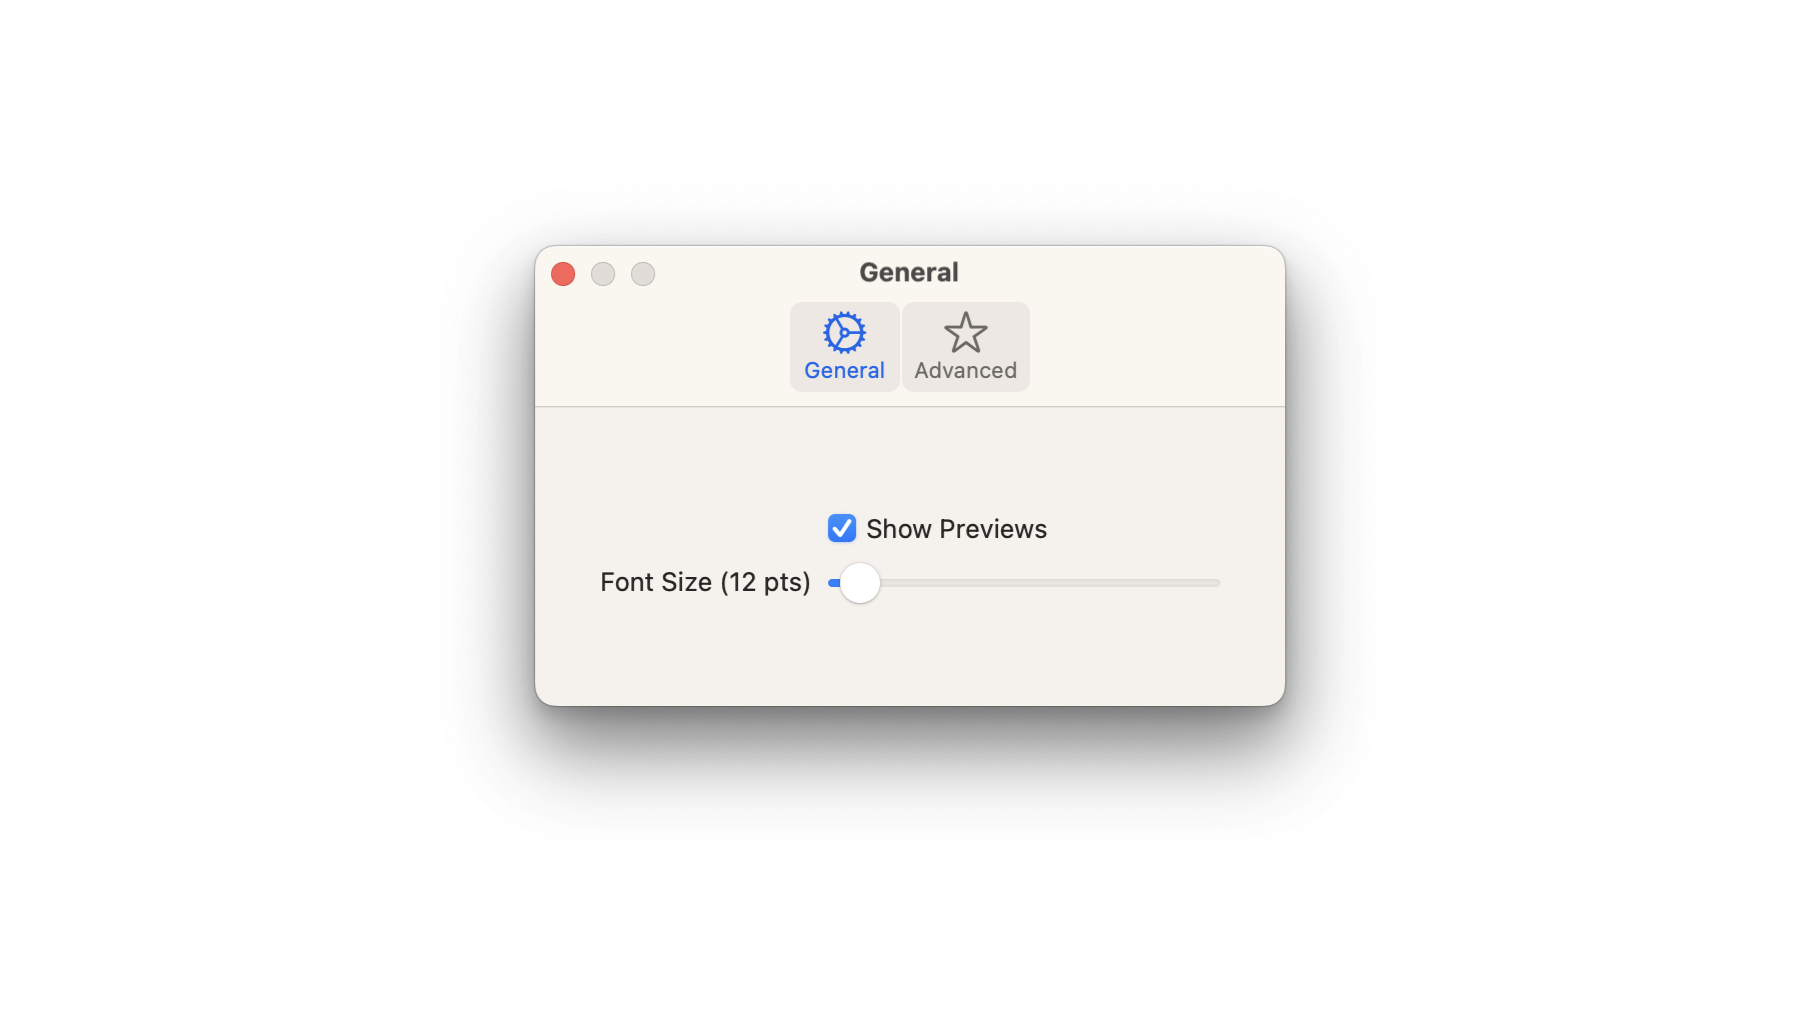
场景内容可以是 TabView、Form等任何视图,不只是容器视图,这里以 TabView 为例:
struct SettingsView: View {
    private enum Tabs: Hashable {
        case general, advanced
    }
    var body: some View {
        TabView {
            GeneralSettingsView()
                .tabItem {
                    Label("General", systemImage: "gear")
                }
                .tag(Tabs.general)
            AdvancedSettingsView()
                .tabItem {
                    Label("Advanced", systemImage: "star")
                }
                .tag(Tabs.advanced)
        }
        .padding(20)
        .frame(width: 375, height: 150)
    }
}
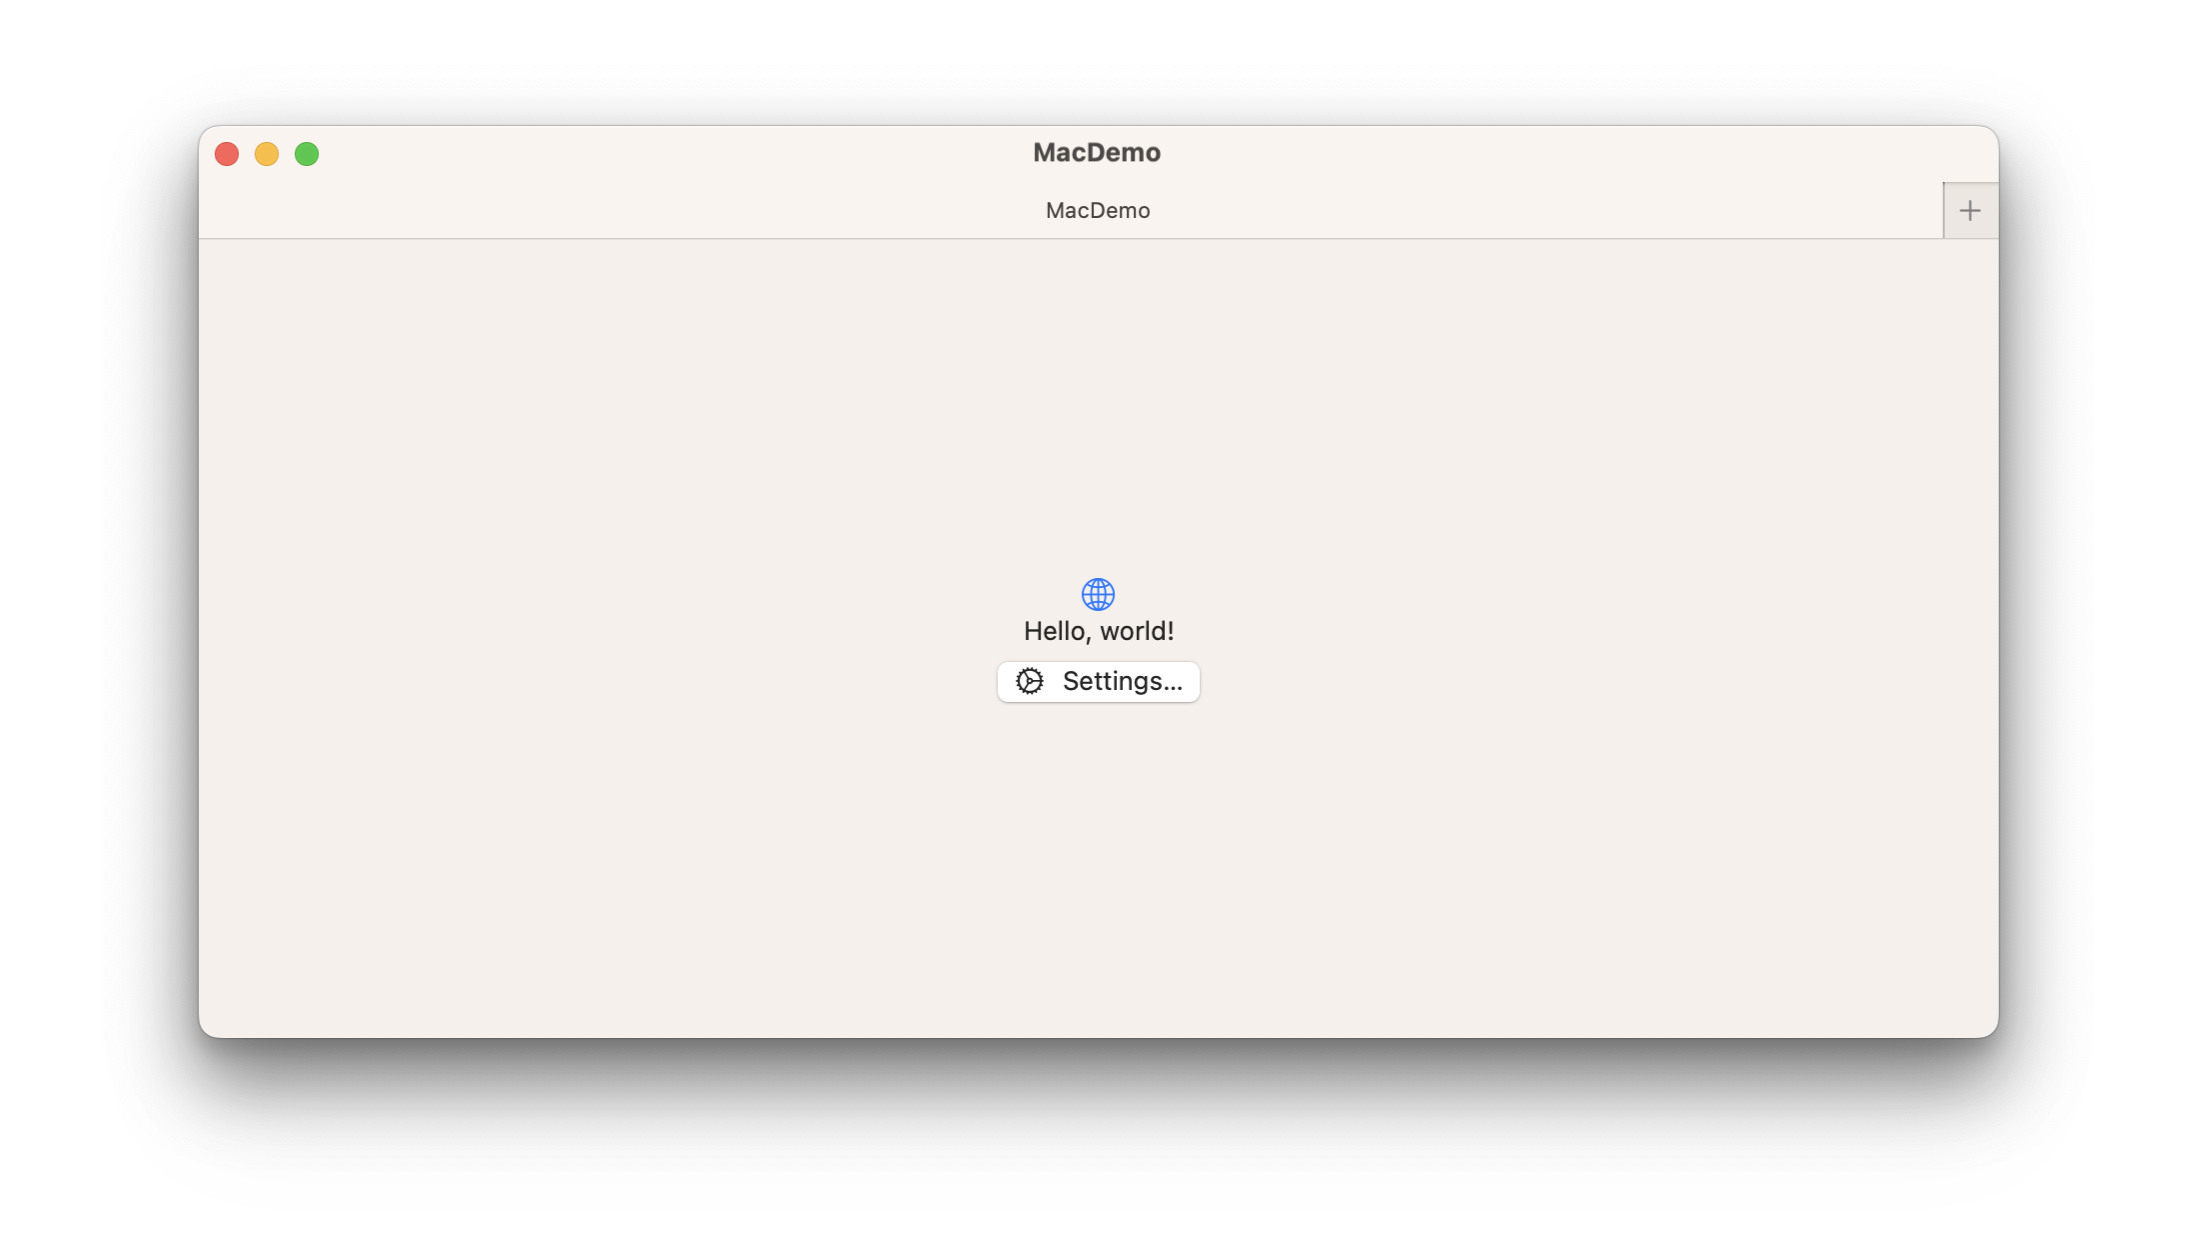
SettingsLink
SettingsLink 允许你在应用的其它位置,打开「设置」菜单:
struct ContentView: View {

    @State private var title: String = "title"

    var body: some View {
        VStack {
            Image(systemName: "globe")
                .imageScale(.large)
                .foregroundStyle(.tint)
            Text("Hello, world!")

            SettingsLink()
        }
        .padding()
    }
}
重命名
可以通过构造器 init(label:) 来修改 SettingLink 链接的名称。
SettingsLink(label: {
Text("设置")
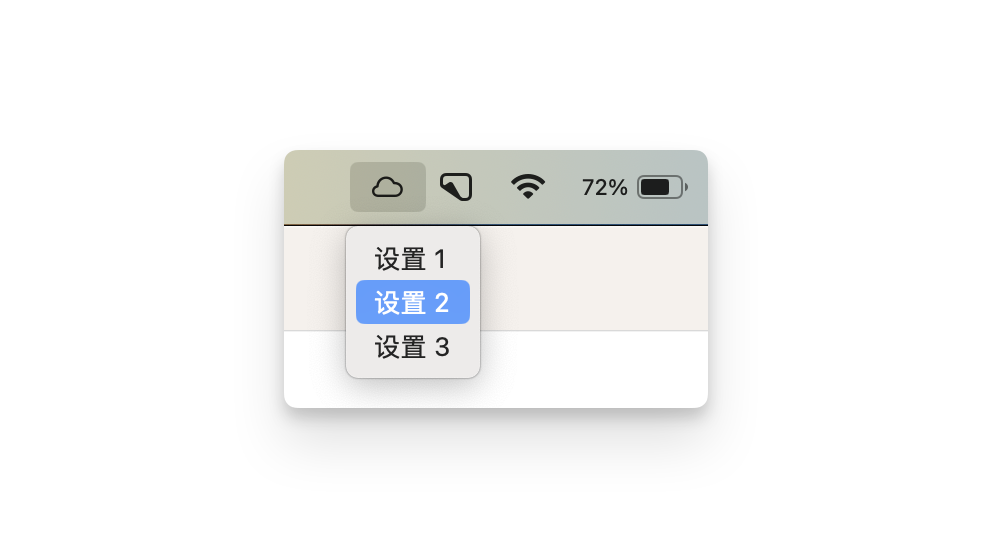
})Creating a menu bar extra 创建一个额外的菜单栏 macOS
将自身呈现为系统菜单栏中的持久控件的场景:
@main
struct MacDemoApp: App {
@AppStorage("showMenuBarExtra") private var showMenuBarExtra = true
var body: some Scene {
WindowGroup() {
ContentView()
}
MenuBarExtra("App Menu Bar Extra", systemImage: "cloud",isInserted: $showMenuBarExtra){
Button("设置 1", systemImage: "cloud.drizzle") {}
Button("设置 2", systemImage: "cloud.snow") {}
Button("设置 3", systemImage: "cloud.bolt") {}
如果你是一个纯工具类的应用,甚至可以只展示菜单而无需窗口界面:
@main
struct UtilityApp: App {
    var body: some Scene {
        MenuBarExtra("Utility App", systemImage: "hammer") {
            AppMenu()
        }
    }
}
对于更复杂或数据丰富的菜单栏附加功能,可以使用窗口样式 window:
MenuBarExtra("Utility App", systemImage: "hammer") {
    Grid {
        GridRow {
            Button("设置") {}
            Button("设置") {}
        }

        Color.green.frame(width: 100, height: 200)

        GridRow {
            Button("设置") {}.gridCellColumns(2)
        }
    }.padding()
}
.menuBarExtraStyle(.window)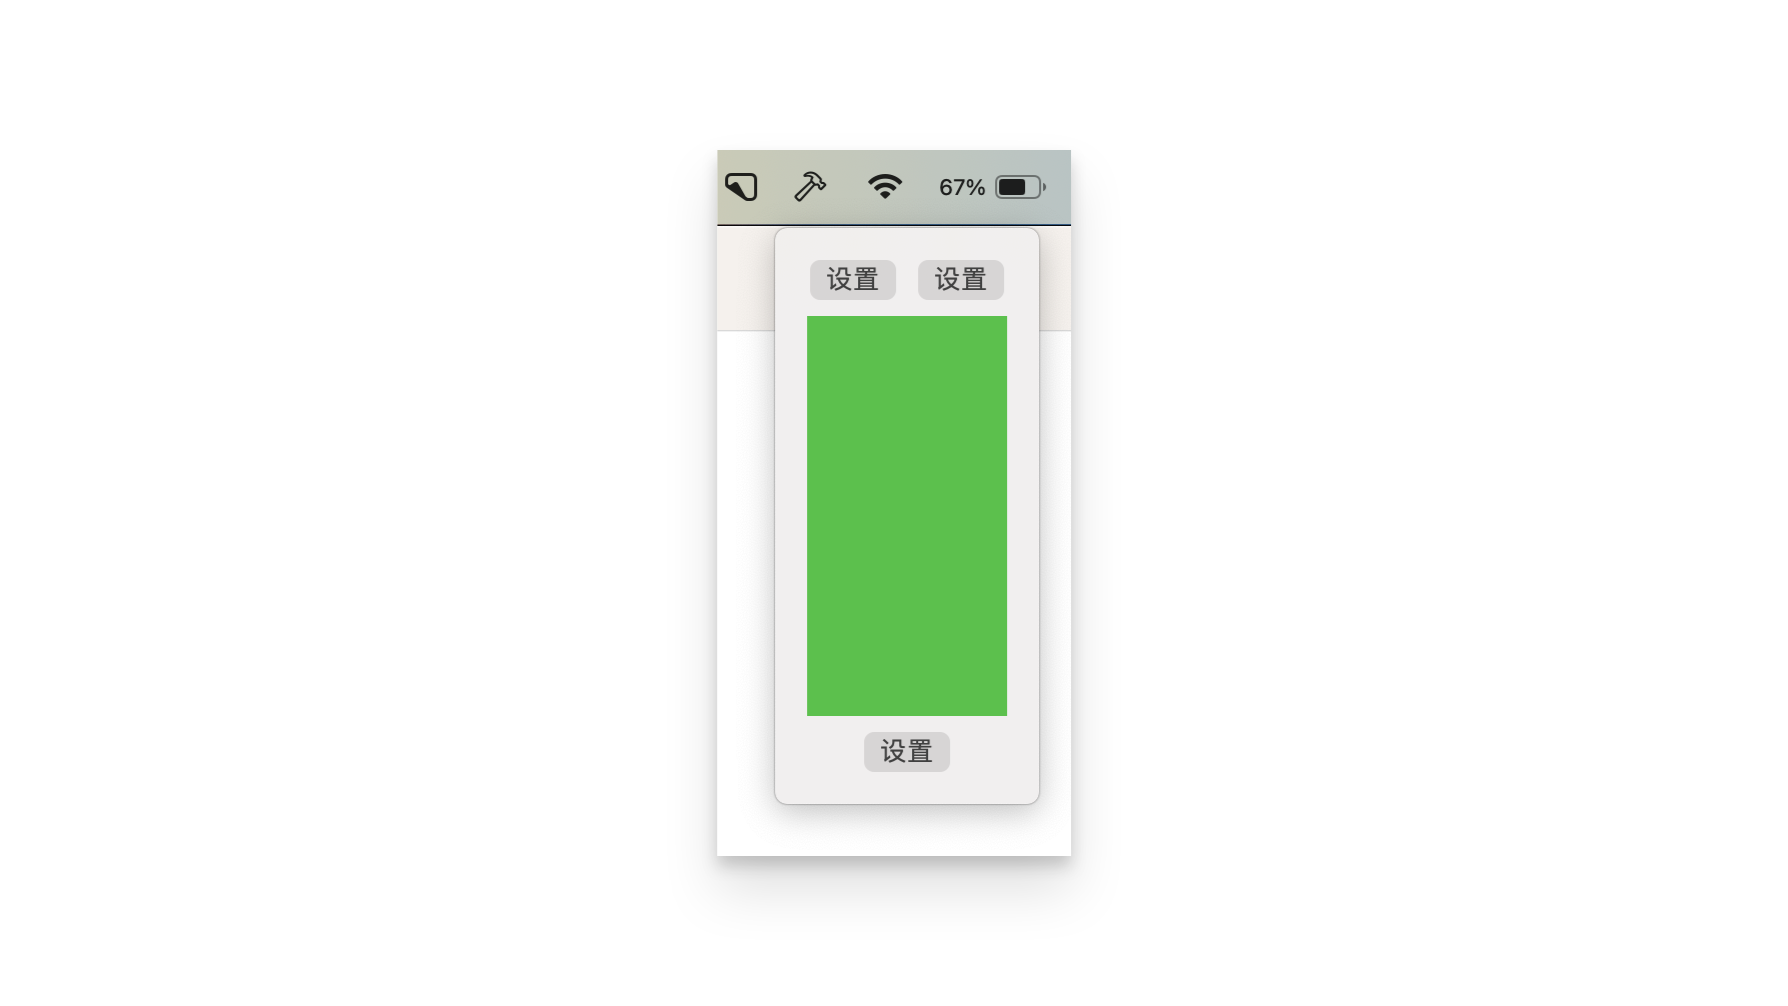
Creating watch notifications 创建手表通知 watchOS
响应接收指定类别的远程或本地通知而出现的场景。
导入 UserNotifications 框架:
import UserNotifications创建控制器 NotificationController : 用于管理通知内容。该控制器根据接收到的通知详情准备并更新视图。
class NotificationController: WKUserNotificationHostingController<NotificationView> {
    var notification: UNNotification?

    override var body: NotificationView {
        return NotificationView(notification: notification)
    }

    override func didReceive(_ notification: UNNotification) {
        self.notification = notification
    }
}
创建 NotificationView 展示通知的界面:
struct NotificationView: View {
    let notification: UNNotification?

    var body: some View {
        VStack {
            if let notification = notification {
                Text(notification.request.content.title)
                Text(notification.request.content.body)
            } else {
                Text("You have a new notification")
            }
        }
    }
}
最后使用 WKNotificationScene 场景,关联控制器和通知策略:
@main
struct PopQuizApp : App {
    var body: some Scene {
        MainScene {
            RootView()
        }

        WKNotificationScene(
            controller: NotificationController.self,
            category: "com.example.notifaction"
        )

        WKNotificationScene(
            controller: QuizTimeController.self,
            category: "com.example.quiztime"
        )

        WKNotificationScene(
            controller: QuizResultsController.self,
            category: "com.example.results"
        )
    }
}
TIP
每个 WKNotificationScene 声明都会引用 WKUserNotificationHostingController 和你提供的类别字符串。
托管控制器在收到本地或 PushKit 通知后显示通知的内容视图。
你指定的类别字符串对应于通知字典中的类别名称,并描述包含通知视图显示的内容的特定通知。